Mirronet User Guide
Master every feature of Mirronet with our comprehensive step-by-step guide. From installation to advanced safety features, become a Mirronet expert.
Learn how to download and install Mirronet from official app stores
Step-by-Step Instructions
- 1Navigate to Google Play Store (Android) or Apple App Store (iOS)
- 2Search for 'Mirronet' in the store search bar
- 3Locate the official Mirronet app with our verified badge
- 4Tap 'Install' or 'Get' to download the application
- 5Wait for the installation process to complete
- 6Launch the app from your home screen or app drawer
Complete guide to creating your Mirronet account with email verification
Step-by-Step Instructions
- 1Open the Mirronet application on your device
- 2Tap 'Sign Up' to create a new account (or 'Log In' if you already have an account)
- 3Enter your complete full name as it appears on official documents
- 4Provide a valid email address (OTP verification required)
- 5Create a strong password with minimum 8 characters including numbers and special characters
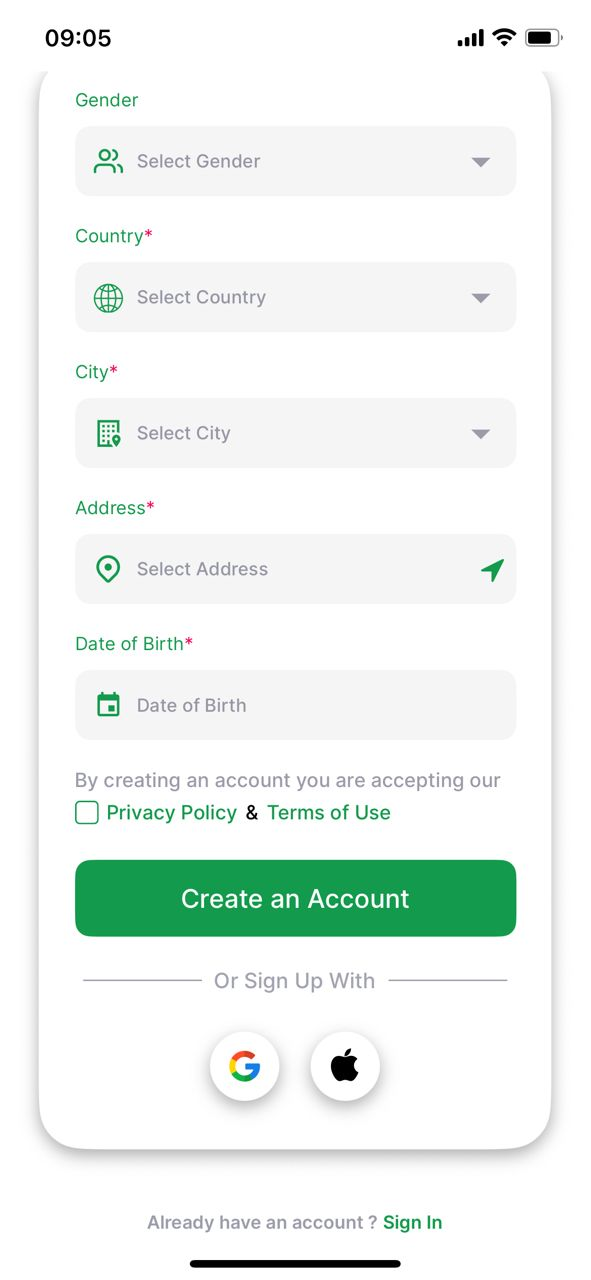
- 6Select your gender from the available options
- 7Choose your country from the dropdown menu
- 8Confirm your address (automatically detected, drag pin to adjust if needed)
- 9Read and accept the Privacy Policy and Terms of Service
- 10Tap 'Create Account' to proceed
- 11Alternative: Sign up using Google Account or Apple ID for faster registration
- 12Enter the OTP sent to your email for verification
- 13Upon successful verification, you'll be redirected to the home screen
Critical setup for optimal app functionality and safety features
Important: Setting location to 'Always' is crucial for family safety features, geo-fencing, and emergency alerts to function properly.
Step-by-Step Instructions
- 1When prompted, allow location access for Mirronet
- 2Go to your device Settings > Apps > Mirronet > Permissions
- 3Set Location permission to 'Allow all the time' or 'Always'
- 4Avoid 'Allow only while using app' as it limits functionality
- 5Enable precise location for accurate tracking features
- 6Restart the app to ensure permissions are properly applied
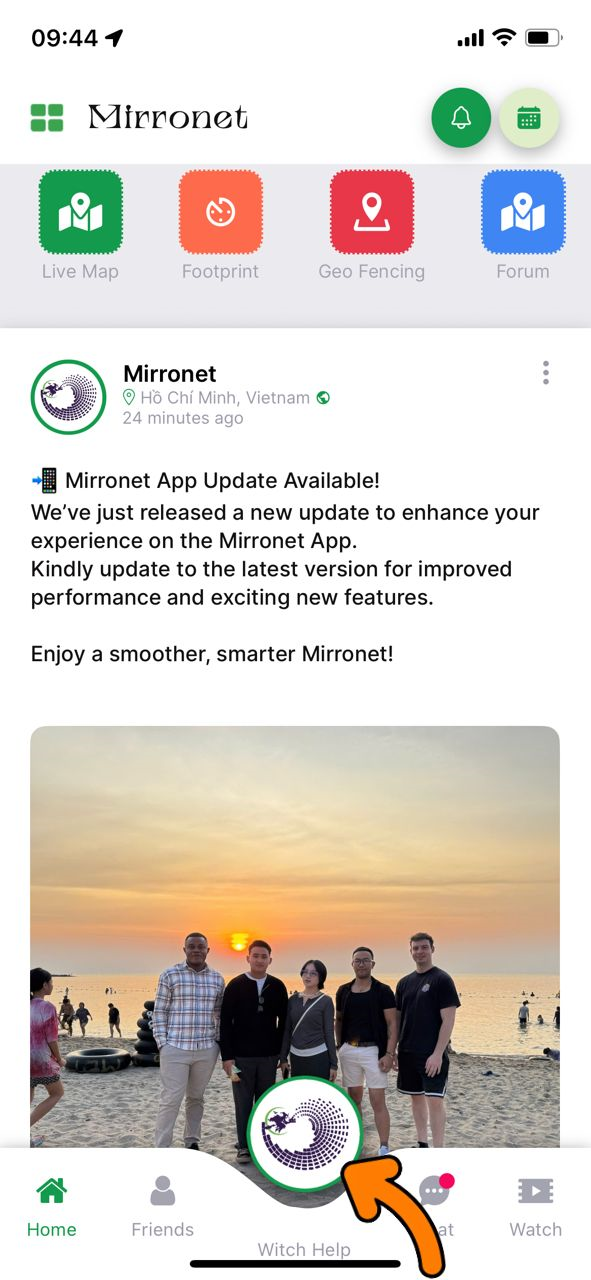
Personalize your Mirronet profile for better social interaction
Step-by-Step Instructions
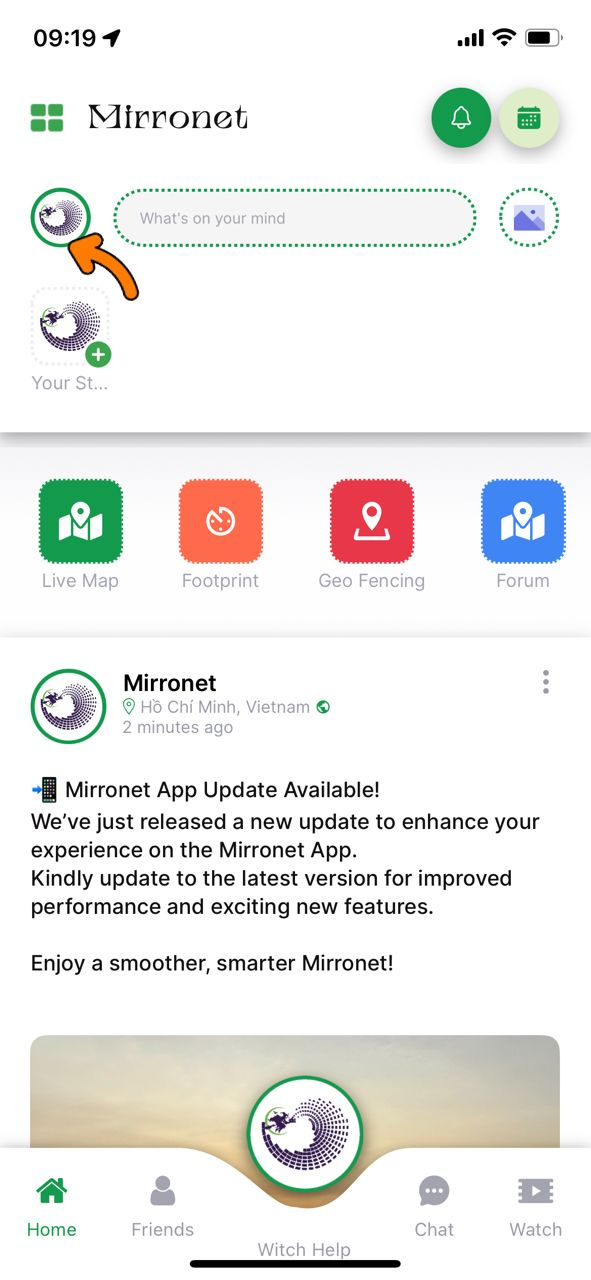
- 1From the home screen, tap on your profile icon (indicated by arrow in screenshot)
- 2Tap the pencil/edit icon to modify your profile information
- 3Upload a clear profile picture by tapping the camera icon
- 4Add a unique username that represents you professionally
- 5Write a brief, engaging bio in the description field
- 6Save your changes to update your profile
- 7Review your profile to ensure all information is accurate
Essential safety feature for family protection and location sharing
Important: Parents/guardians must set up family members in their children's phones to receive location updates and safety alerts.
Step-by-Step Instructions
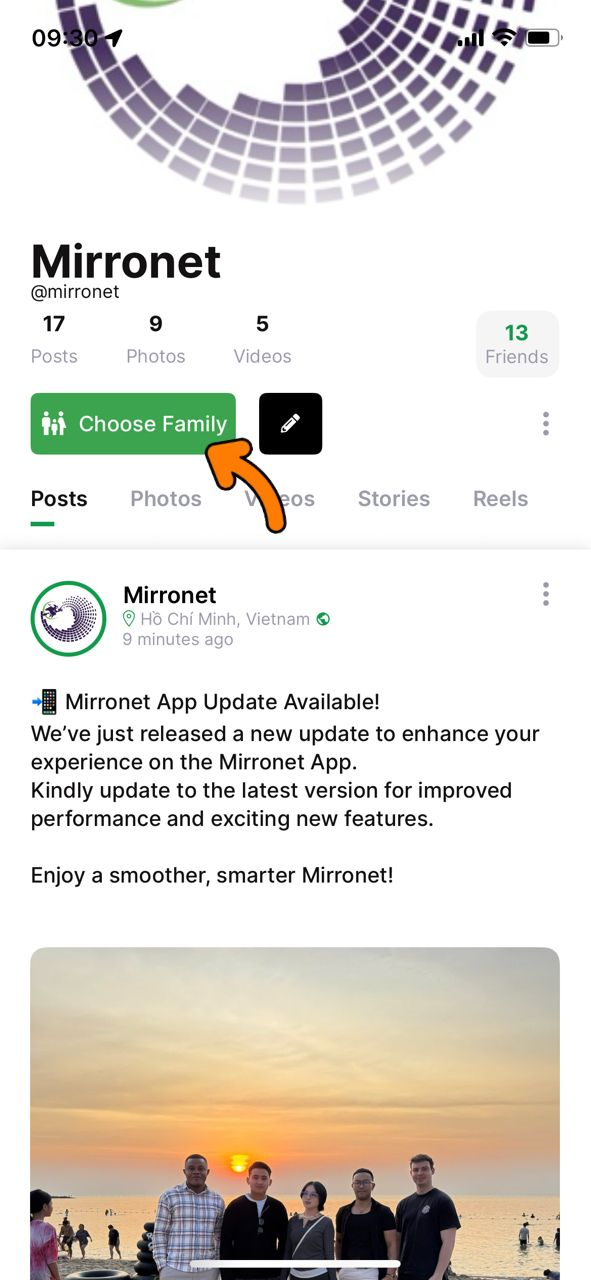
- 1Navigate to your profile section
- 2Locate and tap 'Choose Family' button as shown in the screenshot
- 3Select family members from your friends list
- 4Free users can add one family member; Premium users can add unlimited
- 5For parent-child tracking: Parents must add themselves as family members in their child's phone
- 6Ensure mutual family member setup for bidirectional location sharing
- 7Configure notification preferences for family member activities
Advanced location tracking system for family safety and personal history
Step-by-Step Instructions
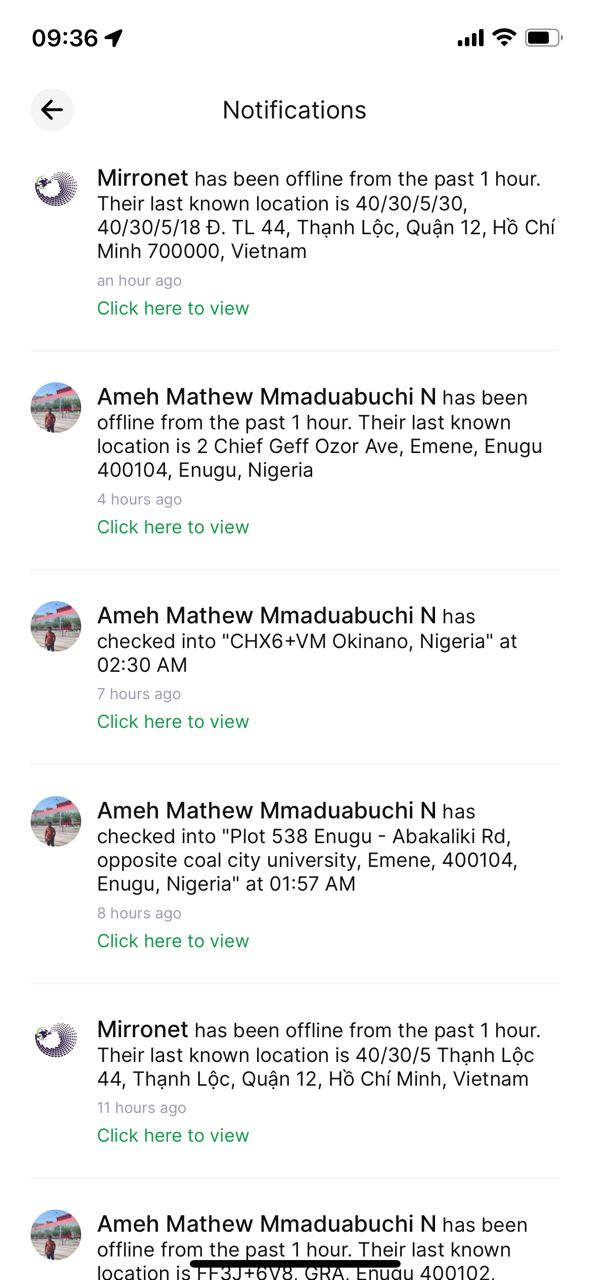
- 1Footprints automatically record when you stay at a location for extended periods
- 2View your personal location history in the Footprints section
- 3Family members receive your location updates automatically
- 4Parents can monitor children's whereabouts through footprint notifications
- 5Access detailed location timeline with timestamps
- 6Review safe and visited locations for pattern analysis
Key Features:
- Automatic location recording
- Family member notifications
- Historical location data
- Real-time location sharing
Critical emergency feature for immediate family notification and assistance
Important: This feature can be life-saving. Ensure your family members understand how to respond to Witch Alerts.
Step-by-Step Instructions
- 1Locate the large, prominent Witch Alert button at the bottom center of your screen
- 2In emergency situations, tap the Witch Alert button immediately
- 3The system instantly sends alerts to all your family members
- 4Family members receive your exact current location
- 5Emergency notification includes direct navigation link to your location
- 6Continue to stay calm and wait for assistance to arrive
Discover and connect with people in your vicinity safely
Step-by-Step Instructions
- 1Tap the Live Map button shown in the screenshot
- 2View people currently active in your area
- 3Browse profiles of nearby users
- 4Send friend requests to interesting connections
- 5Start conversations with mutual connections
- 6Arrange safe meetups in public places
- 7Use privacy settings to control your visibility
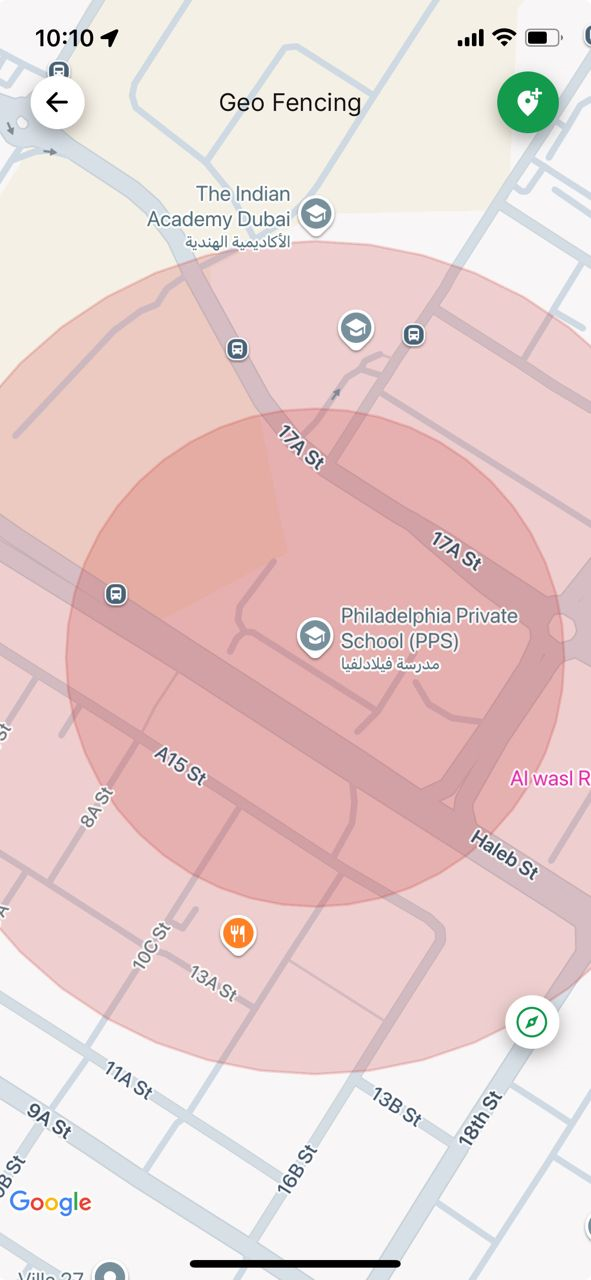
Advanced parental control feature for monitoring children's movements
Important: Set up geo-fencing in your child's phone to receive boundary alerts on your device.
Step-by-Step Instructions
- 1Access Geo-Fencing from the home screen menu
- 2Tap the location with plus icon at the top right of the map
- 3Enter the specific location name (e.g., 'Philadelphia Private School')
- 4Set the radius in meters (example shows 226 meters)
- 5Define the time parameters for the geo-fence
- 6Save the geo-fence configuration
- 7Parents receive instant notifications when children enter or exit the designated area
Use Cases:
- School boundaries for attendance monitoring
- Home perimeter for departure/arrival alerts
- Safe neighborhood zones
- Restricted area warnings
Location-based community discussions and local engagement
Step-by-Step Instructions
- 1Access the Discussion Forum from the main menu
- 2Forums are automatically generated based on your registered location
- 3Browse ongoing discussions in your area
- 4Participate in community conversations
- 5Share local news, events, and information
- 6Follow community guidelines for respectful interaction
- 7Report inappropriate content to moderators
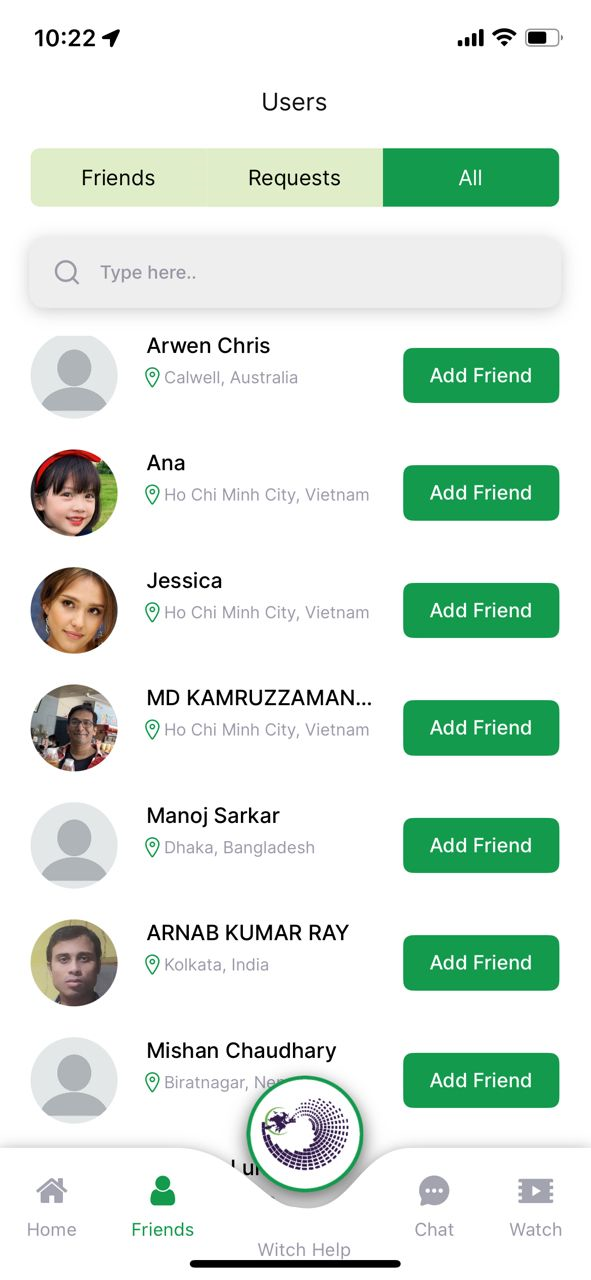
Comprehensive friend management system for social networking
Important: Only friends can be added as family members for safety features.
Step-by-Step Instructions
- 1Tap 'Friends' button on the home screen
- 2Navigate between 'Friends', 'Requests', and 'All' tabs
- 3To search for friends: Select 'All' tab and use the search function
- 4Send friend requests by tapping 'Add Friend' on user profiles
- 5Check 'Requests' tab to see incoming friend requests
- 6Accept or decline requests as appropriate
- 7View all your connections in the 'Friends' tab
- 8Add friends from newsfeed by tapping on their names
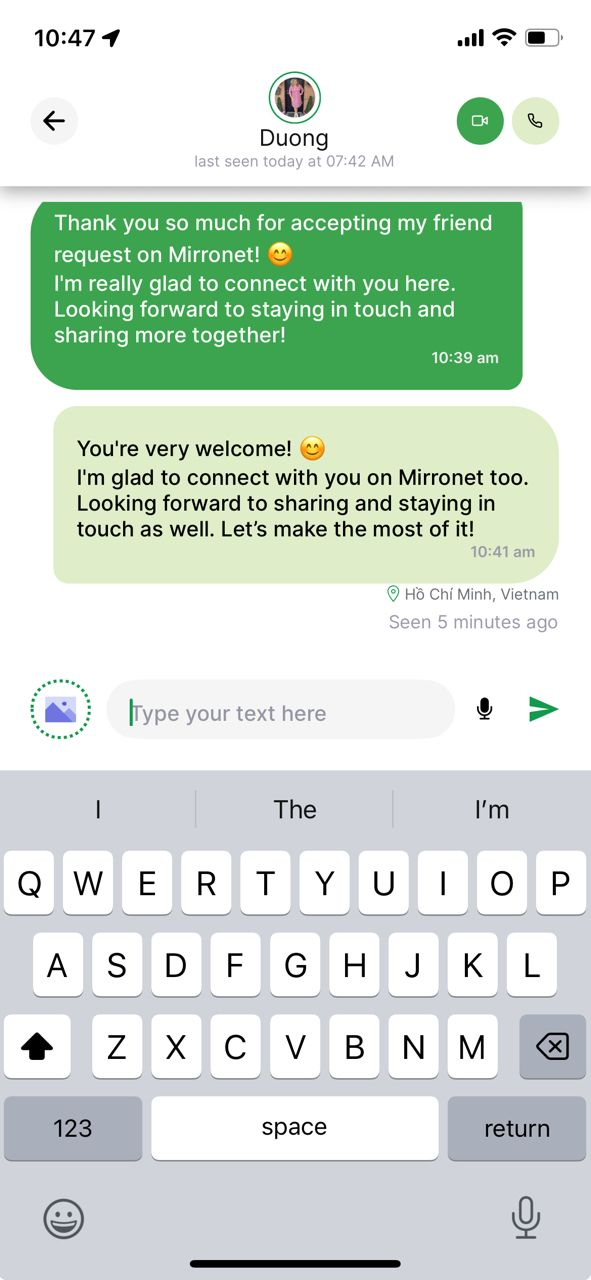
Advanced communication features with location verification for safety
Step-by-Step Instructions
- 1Access messages from the main navigation
- 2First-time messages appear as requests requiring acceptance
- 3Send text messages, voice notes, and images
- 4Make voice and video calls to your connections
- 5Premium users receive sender's location with messages
- 6Ask contacts to enable location sharing for verification
- 7Use location sharing to prevent dating scams and lies
Key Features:
- Text messaging with rich media support
- Voice and video calling
- Location verification for premium users
- Anti-scam location sharing
- Message request system for safety
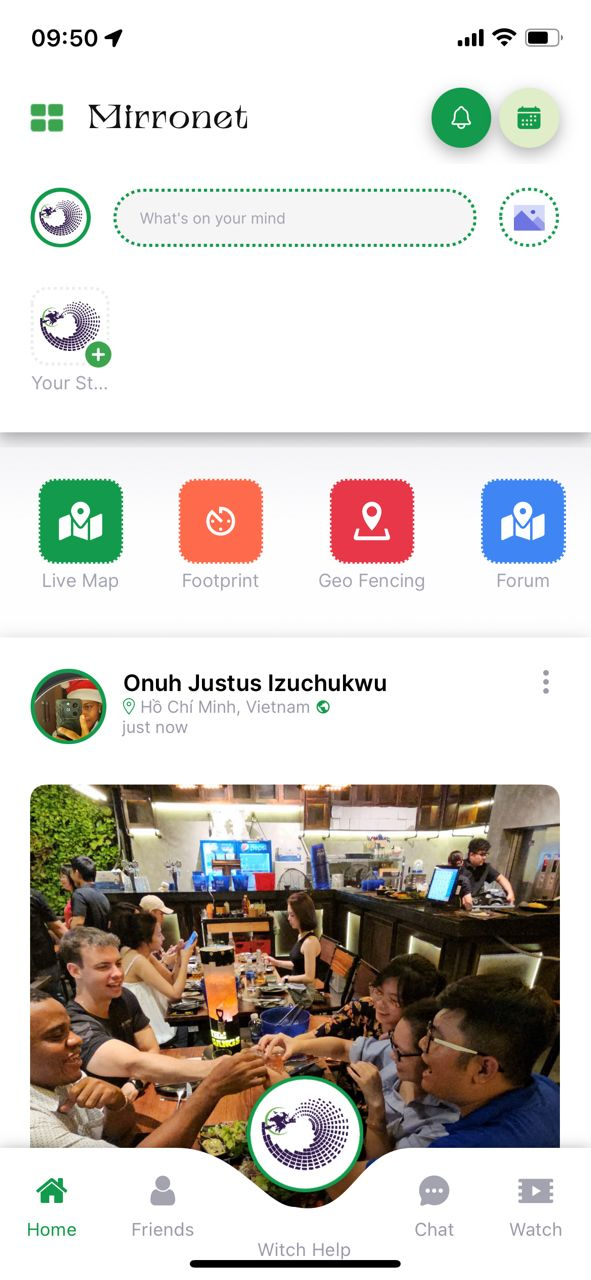
Creative content sharing and status management features
Step-by-Step Instructions
- 1Tap the plus icon in your profile to add status updates
- 2Create and share reels with your network
- 3Upload videos and photos to your timeline
- 4Status updates remain visible for 72 hours
- 5Archived status updates are saved in your archive section
- 6Access your complete status history anytime
- 7Engage with others' content through likes and comments
Comprehensive privacy controls and security features
Important: Mirronet is designed to be safe for users of all ages, including children under 16.
Step-by-Step Instructions
- 1Access Settings from the main menu
- 2Configure location sharing preferences
- 3Turn off location visibility when needed
- 4Block users who violate community standards
- 5Report inappropriate posts or behavior
- 6Manage who can see your profile information
- 7Control friend request permissions
- 8Set up notification preferences
- 9Review and update privacy settings regularly